In this segment, solution to recover mailboxes from corrupt database is discussed. Exchange Server 2003 SP2 is installed in the enterprise.
In this situation, as there is need to repair corrupt EDB file Exchange 2003 preventing downtime, the best solution is to recover the mailboxes from backed up MBDDATA using Recovery Storage Group (RSG). The entire process includes six stages:
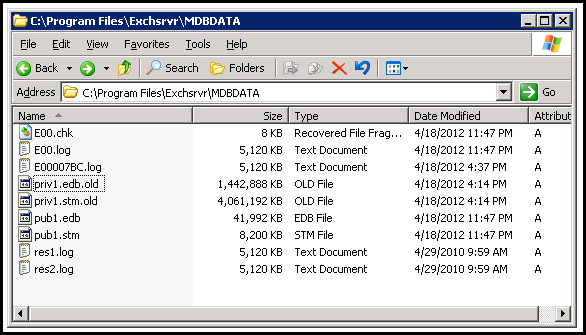
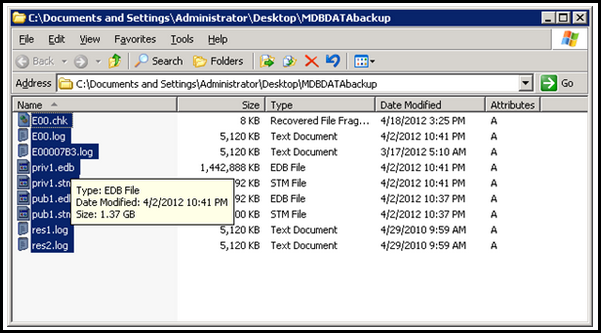
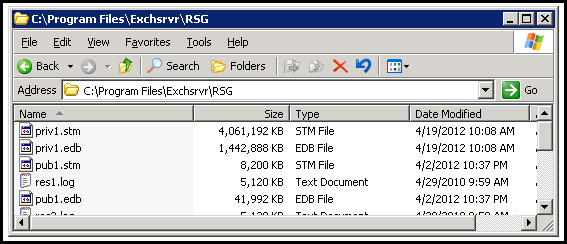
For this, open Windows Explorer and navigate to the location "c:\program files\exchsrvr" where mdbdata folder will be available. Copy this folder and save it at an alternate location. Now, rename this folder as mdbdatabackup.
Open mdbdata folder and there will be priv1.edb and priv1.stm files available. Rename these files are priv1.edb.old and priv1.stm.old.
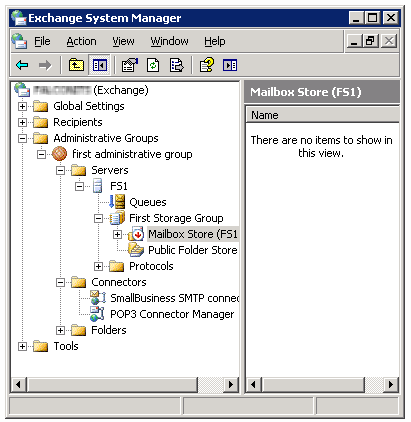
Now, open Exchange System Manager, select the mailbox store that is corrupt. Right-click on it and choose Mount Store option.
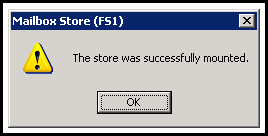
Since we renamed .edb and .stm files, a message will be received on screen stating:

Click Yes. This will generate new database that will help to continue sending and receiving emails. However, the user mailboxes will be completely empty as this is a temporary stand-in. Once the corrupted database is repaired, it will be merged with this database using ExMerge tool.
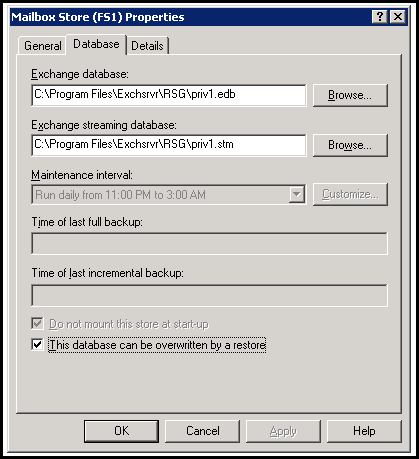
Note » For the above condition, enable the check box for "This database can be overwritten by restore
Go to the folder where mdbdatabackup is created. Move a copy this backup file contents to the RSG.
Eseutil is an exe file that helps to perform number of operations of Exchange database using variety of switches. The process to repair corrupt EDB file Exchange 2003 database will include following stages:
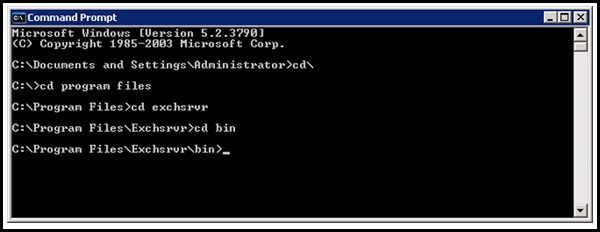
Open command prompt and navigate to "c:\program files\exchsrvr\bin". This is the location of Eseutil.
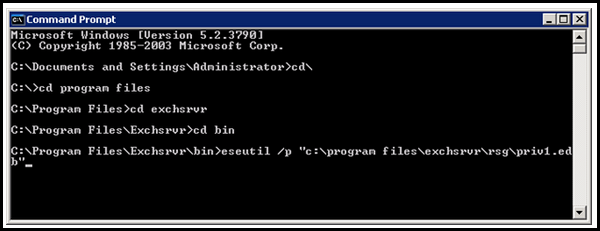
The syntax for repairing DB with Eseutil is: ESEUTIL /P database_filename.edb
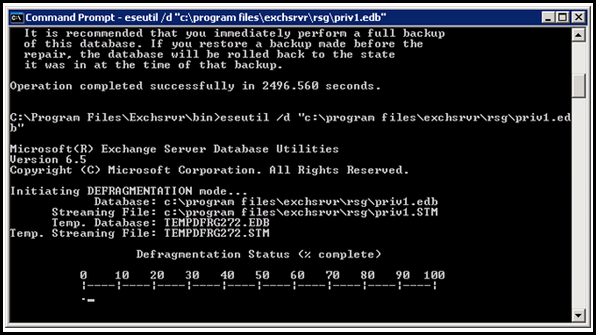
Here, for repairing the RSG DB, enter eseutil /p "c:\program files\exchsrvr\rsg\priv1.edb"
Hit Enter button. A warning message stating that some data loss will happen in order to take necessary steps for repairing corrupt database. Click OK.

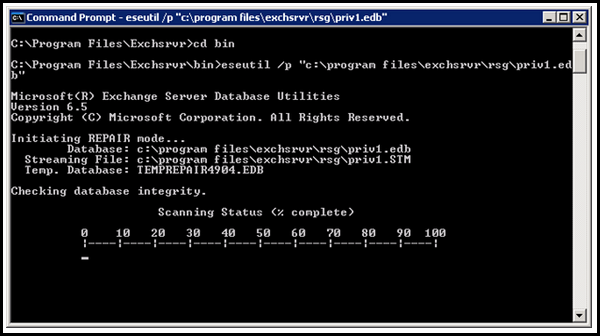
Depending upon the speed of Server and the size of database, repair process can take minutes, hours, or days. If the speed of Server is fine, then database is repaired at 3GB per hour (If DB is around 70 GB, it can take whole day for repair). After repair, there will be white space in the database due to removal of corrupt pages or tables.
Before Repair


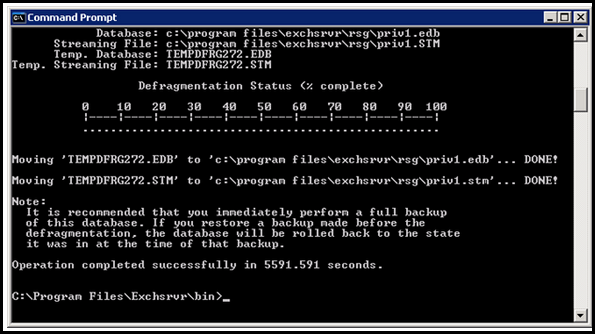
To remove this white space from the database, offline defragmentation is needed to be performed.
Here, we for RSG, the cmd used is
Defragmentation speed for database using Eseutil is 3GB per hour.
After defragmentation »
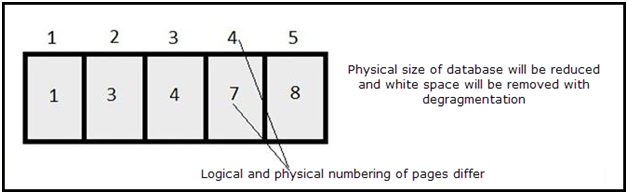
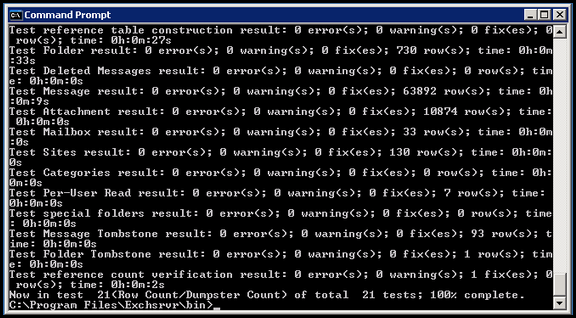
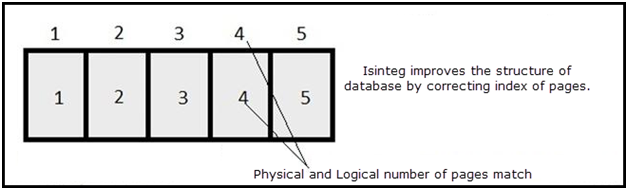
We notice that although the white space from the database is removed, physical and logical numbering of the EDB file has not been improved. For this, there is need to repair DB at application level using Isinteg utility.
Syntax is: isinteg -s servername –fix –test alltests
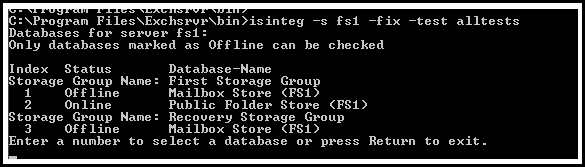
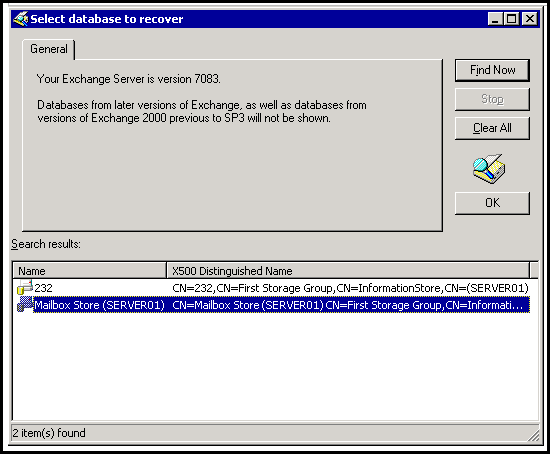
Now, select the mailbox store on recovery storage group and hit enter.
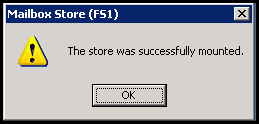
Once the repair process is finished, open Exchange System Manager and navigate to RSG mailbox store. Right click on it and click Mount Store. A warning message will be received that a new checkpoint file will be created. Click Yes.
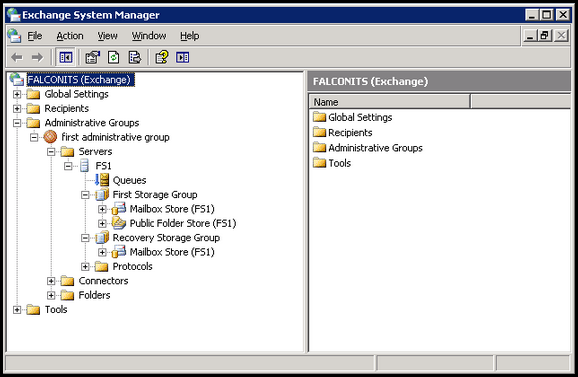
Now, there are two mounted stores on Server: One that was created for emailing to prevent Server downtime on production Server and the repaired DB that has all mail data before Server crash. To merge both the databases, we will use ExMerge utility.
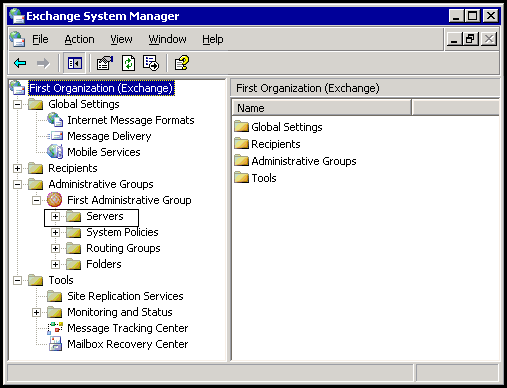
There are two Mailbox Stores named (FS1); one under First Storage Group and another under Recovery Storage Group.
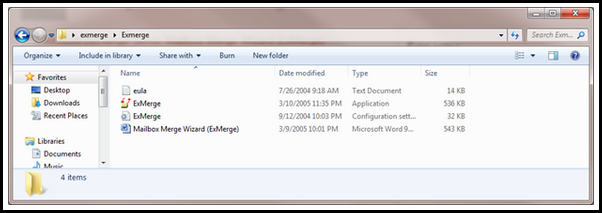
Now, run Exmerge exe file and move a copy of extracted files to c:\program files\exchsrvr\bin
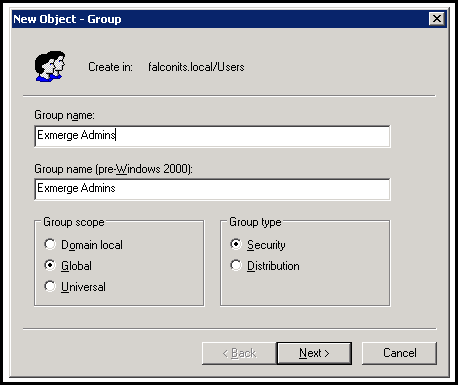
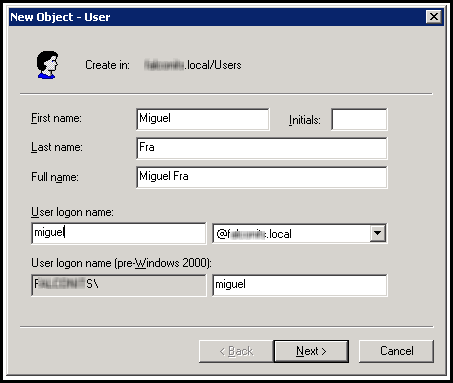
Now, if Exmerge tool is run under administrator's account, it will not have access to the user mailboxes. Thus, another security group has to be created for Exmerge (create a user for Exmerge).
Note: In the Group Type section, ensure that Security option is enabled.
From the Start menu, go to programs and point to Microsoft Exchange. Select System Manager.
Now, expand Administrative Groups. Right click on the desired Administrative Groups and chose Delegate Control. Following window will pop up on screen »
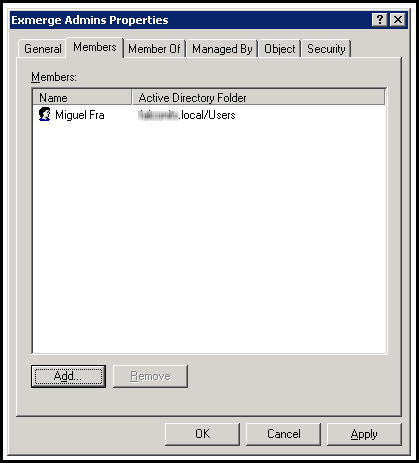
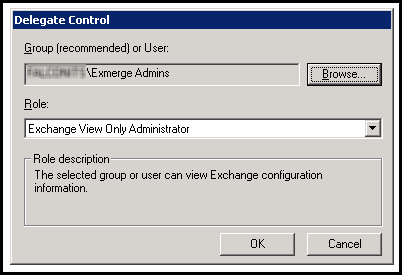
Hit the Next button and click Add. Enter the group and assign role to it as explained in the image below:
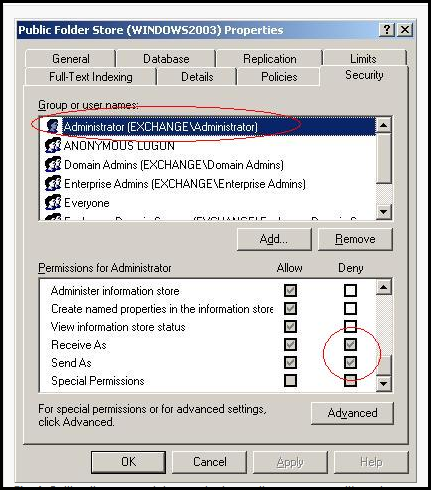
Open Exchange System Manager and expand administrative group. Right click on the storage group and drop down to Properties.

In the Security tab, select the group and assign Send As and Receive As rights to the account.
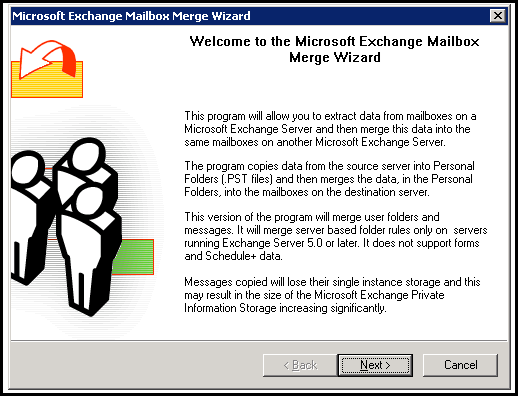
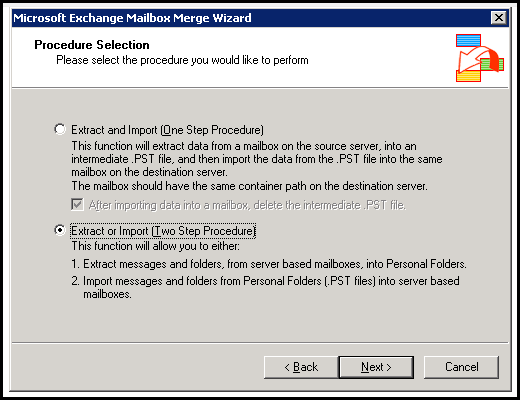
Run exmerge.exe file and following window will pop up on screen:
In the Procedure Selection dialog box, select Extract or Import (Two Step Procedure)
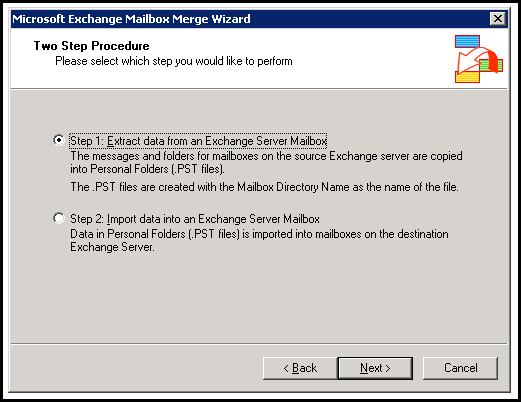
In the Two Step Procedure wizard, enable the radio button for 'Step 1'
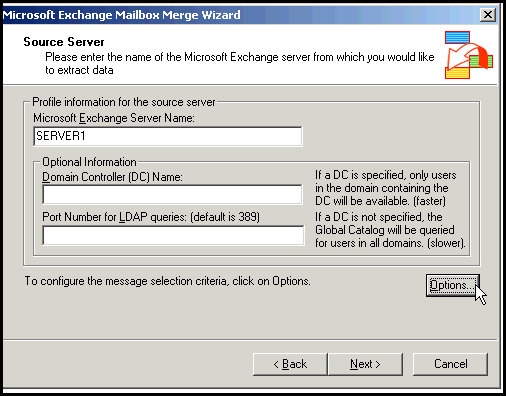
In the Source Server wizard, enter details of the Server from which mailboxes are to be extracted.
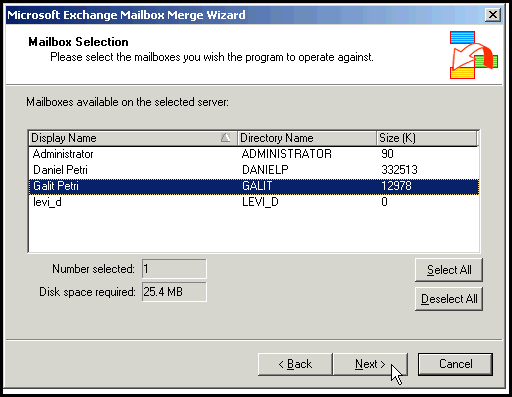
Select the mailboxes that are to be merged to other database mailboxes.
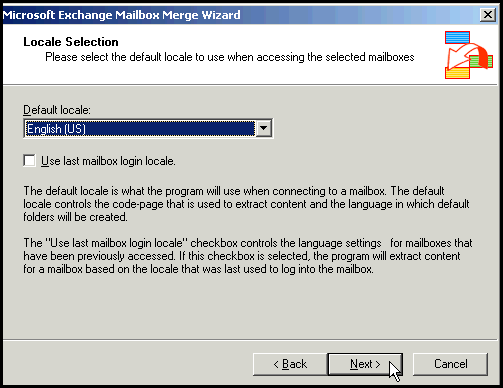
Select the locale as per convenience for merging the mailboxes.
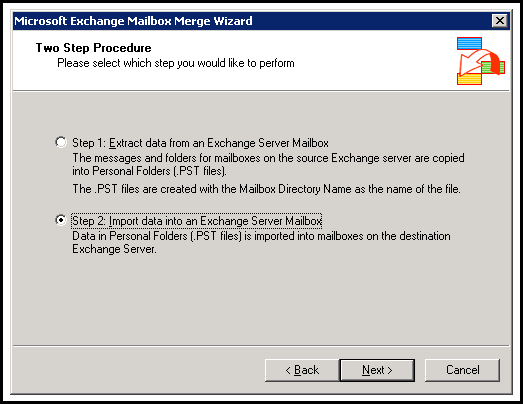
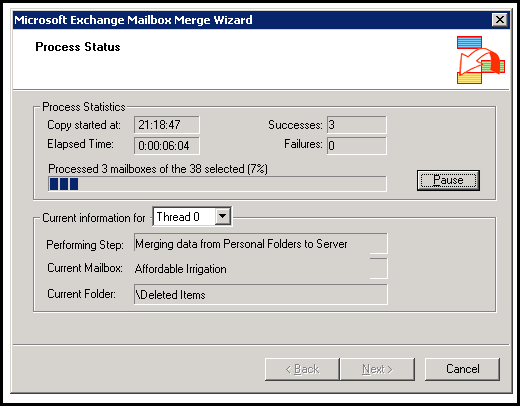
Now, we have PST file for the RSG repaired mailboxes. Now, to merge them to temporary database on production Server, again open ExMerge, select Two Sep Procedure and chose the option "Import Data into Exchange Server Mailbox"
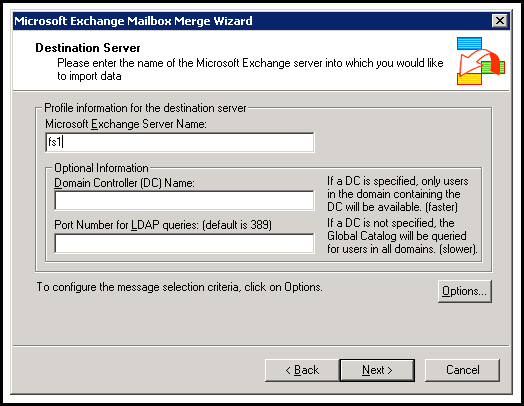
Now, enter details for the destination Server where into which the mailboxes in PST file has to be merged.
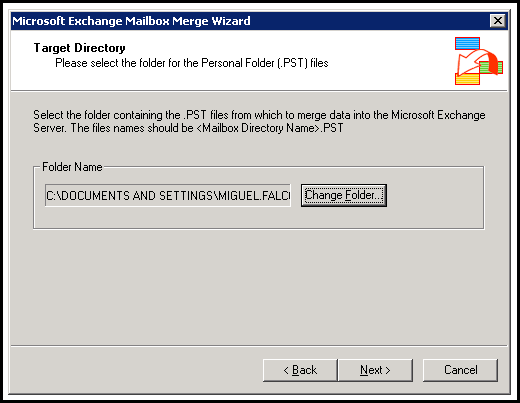
Make a selection of mailboxes into which the mailboxes in PST file is to be merged. Select the folder where PST file with mailboxes to merge are saved.
Note: The process shared above to repair corrupt EDB file Exchange 2003 requires to be performed with expert hands. Moreover, while operating ExMerge tool, it is important that size of each mailbox in the store is checked out.
If this does not work out, then a quick solution to the problem is Exchange Recovery software. This tool recovers mailboxes from damaged EDB file and migrates them to another Server within minimum Recovery Time Objective.

